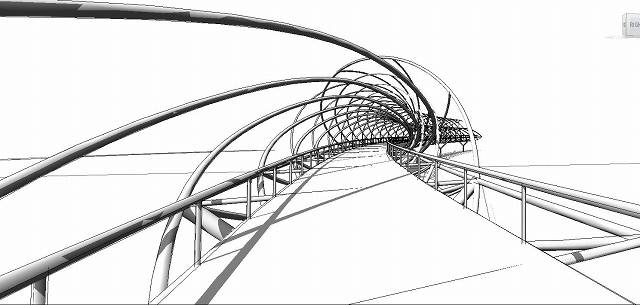
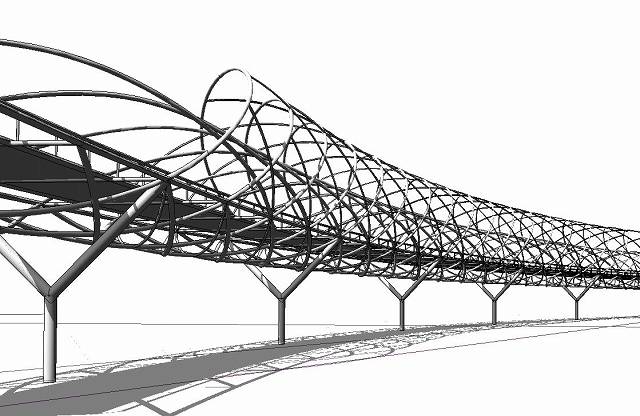
I started this modelling study with much enthusiasm, sustained it with an abundance of curiosity and finished it with great relief. With neither training nor knowledge on using Dynamo, I leapt right in armed with hours-upon-hours of reading and video materials contributed mainly by the scholastic generosity of people from world-wide-web.
I decided to use Singapore’s iconic Helix bridge as my platform for learning. I downloaded and studied plans, elevations and illustrations available online to get a better understanding on how the bridge was designed. The steps below does not aim to be a tutorial, but rather a means document my endeavors. There are far better methods and shorter ways out there that I for one am eager to learn. Just as well, this study does not attempt to copy every detail of the bridge, but only aim to model the general features of the bridge using the basic code blocks that I’ve learned in the process.
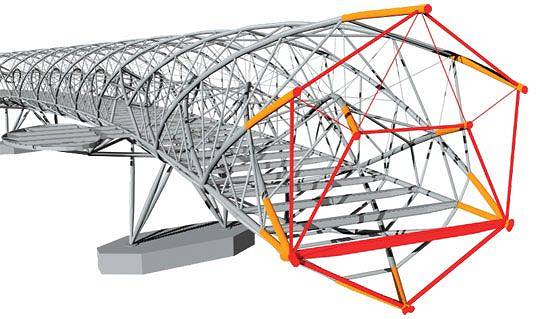
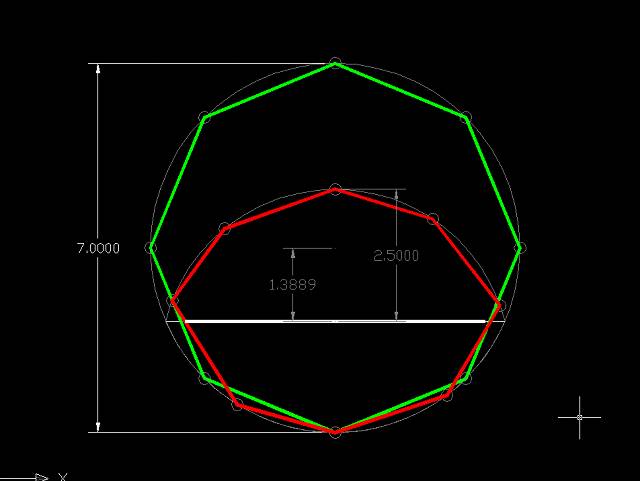
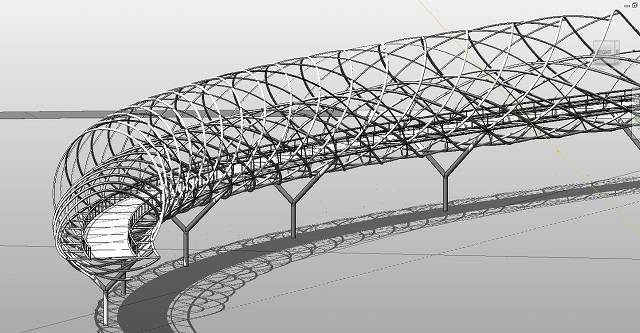
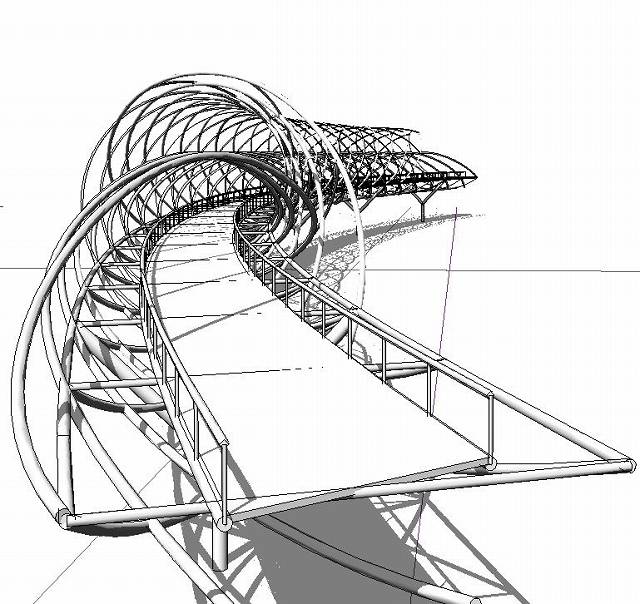
The bridge is composed of 2 major helix strands. The first strand is the outer shell which is circular in section. The second is an elliptical in shape embedded within the circle with half of it an overlapping arc with a portion of the circle.

begin modelling with 3 independent point representing the middle and ends of the bridge. These 3 points can be manipulated manually even after the succeeding parts are put in place.
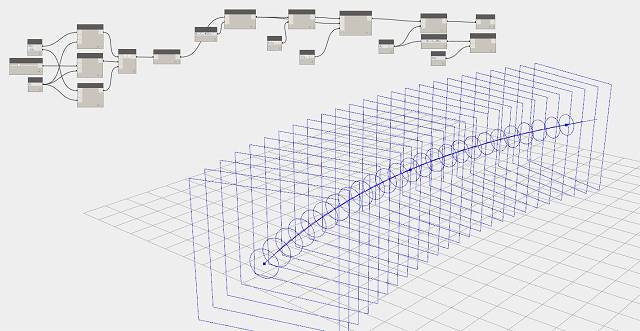
String a nurb.curve across the 3 points and use plane by parameter to generate a series of planes that run across the entire curve. These planes will be hosted on the curve therefore it will constantly adjust itself according to the curve profile. Using circle on plane radius, generate a series of circles on all planes.
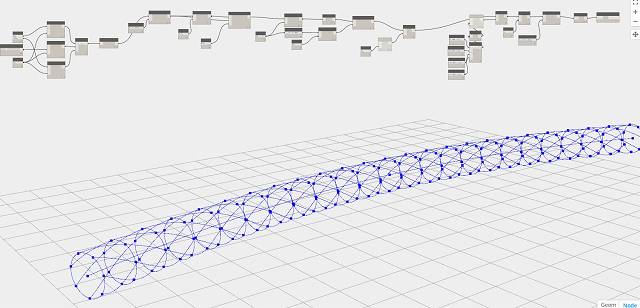
Generate points across all the circles using point parameter. Using shift index, I shifted each of the points grouped along the circle by one point at each step. This makes the points rotate around the circle by 1 index at each ring. Using list transpose, I am able to generate nurb curve across all points to create the helix above.
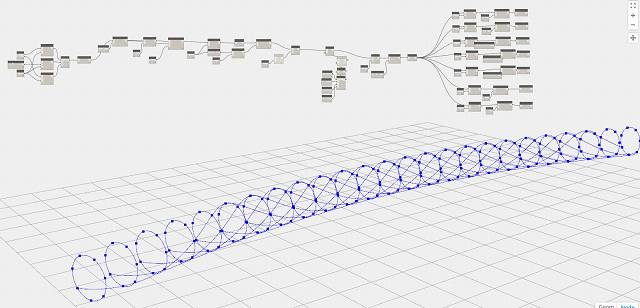
Now it’s time to carve out the ends of the helix. The Singapore helix terminates with its curve finally resting on the base of the curve. Using get index, select each curve and use remove items at index to take out points at the end of the helix .
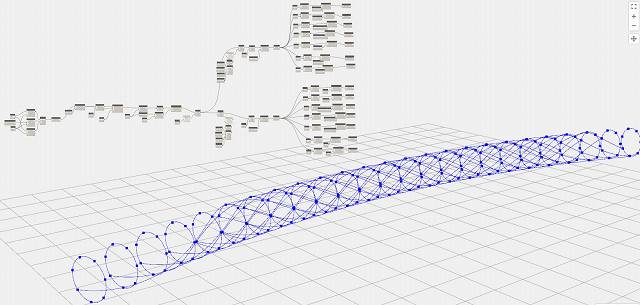
Repeat the same process above but reverse the shift index. Once again, select each curve and remove the points to give the end its shape.
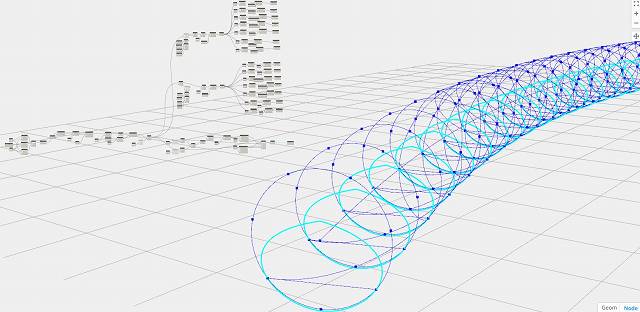
Create the minor helix strand using 2 of the points at the base of the major helix strand. Do this by translating the center points to create the top and bottom and then creating a list with it and the 2 basepoints. Use curve by point tool to generate the curve.
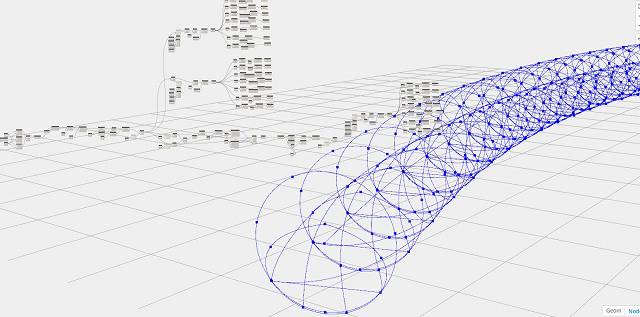
Using the same process above, generate points and run curves across these points. Trim the ends again to make the bridge termination.
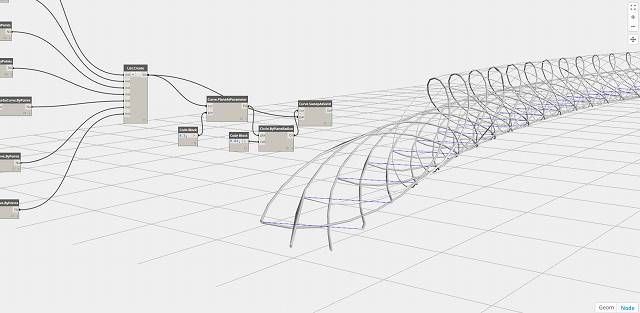
Generate 3d sweeps across the curves. In this process, I created planes parameter and set the parameter at 0.5. Created a circle on that plane and sweep it across the curve.
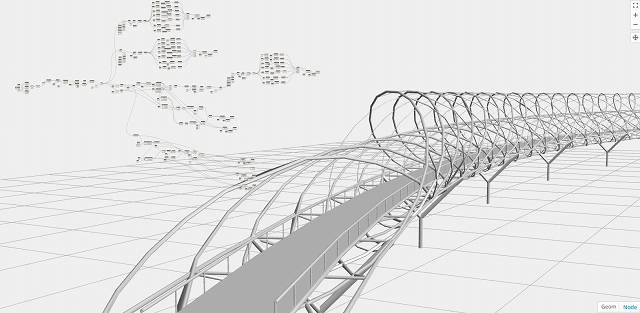
Now that the main helix is done, create the other accents to complete the bridge.
Here’s the bridge in Revit view.

